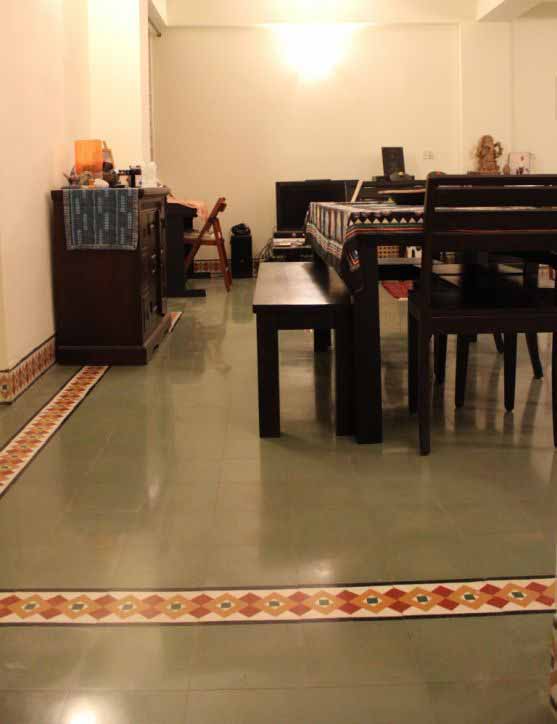
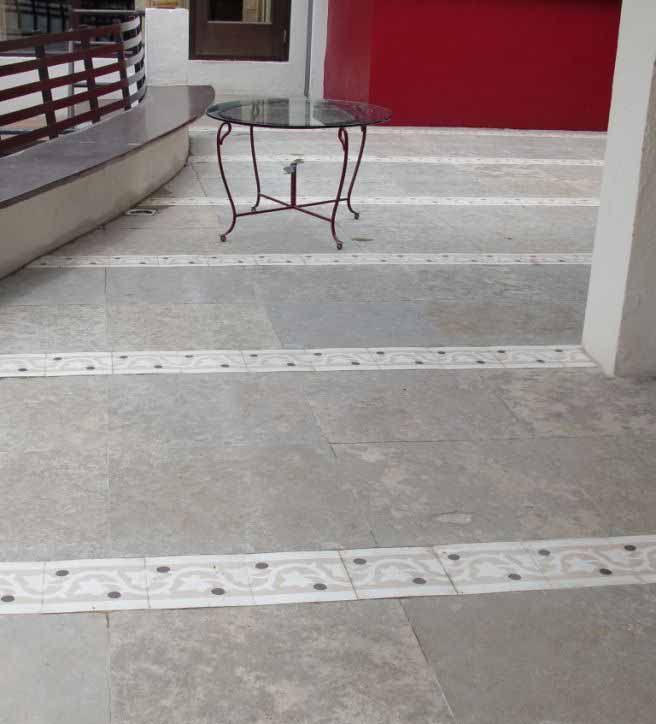
Actual pictures of these tiles in use
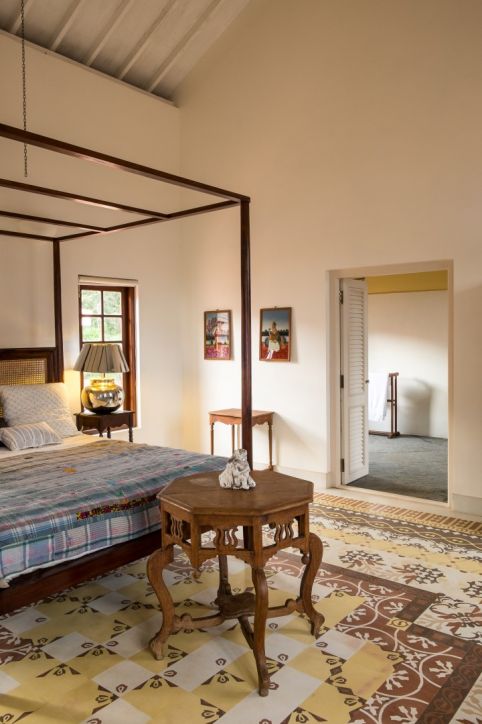
A medley of Heritage tiles adorns the bedroom of this residence
.jpg)
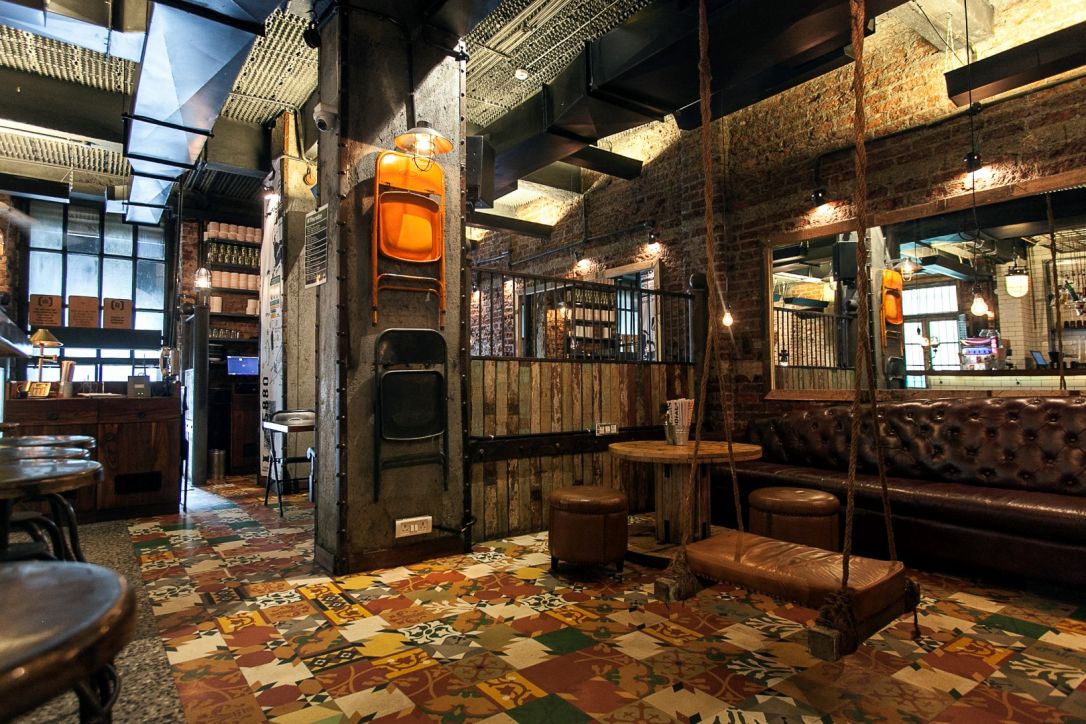
Pizza Metro Pizza, Kemps Corner. Photographer Ameya Ravindra Kadam
.jpg)
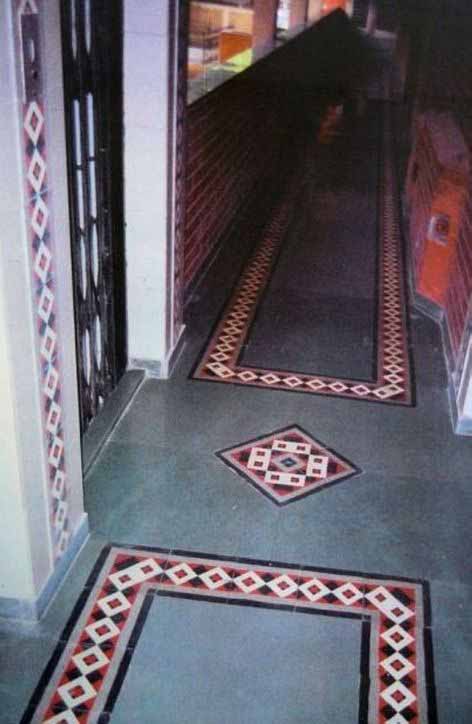
The random color ones are in TMC the music cafe at city centre Raipur. Vivek Rathore from Salient Design Studio, , Kolkata
.jpg)
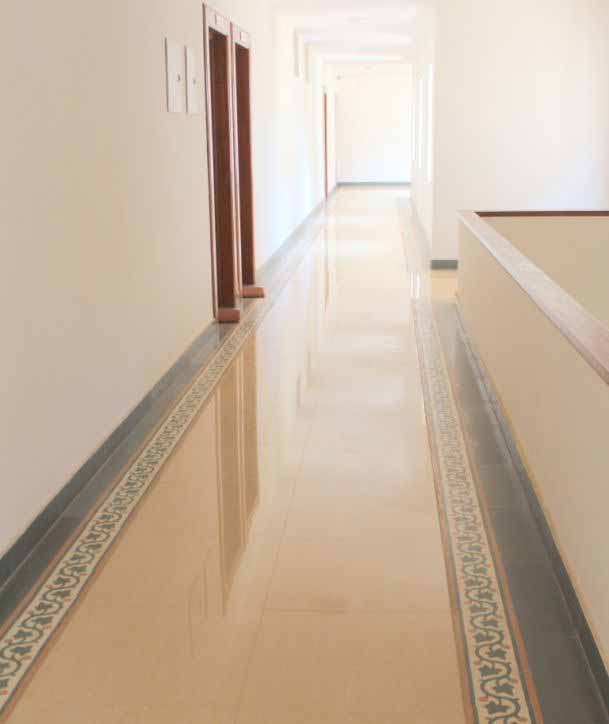
The random grey and white arrangements are in Aafra restaurant and lounge at city centre Raipur. Vivek Rathore from Salient Design Studio, Kolkata
.jpg)
A cheery medley of Heritage tiles adorns the terrace of Idea Spice Design office at Mumbai.
A cheery medley of Heritage tiles adorns the terrace of Idea Spice Design office at Mumbai.
.jpg)
A patchwork of Heritage designs creates a unique floor at Chai Nashta in Bombay.
.jpg)
.jpg)
.jpg)
.jpg)
.jpg)
.jpg)
.jpg)
.jpg)


