×
Manufacturing Process
A century year old technique which is still relevant
6 STEP PROCESS

The Bharat Floorings Group is the leader in quality cement floorings - a reputation held for over 90 years. In 1922 Bharat pioneered the cement tiles industry in India as part of the Swadeshi movement as a contribution to India’s economic independence by producing tiles of international quality to replace imports.

EACH STEP HAS TO BE DONE WELL

The best European technologies were brought and modified to create a unique product suited to Indian conditions. Recognising that a good floor is only achieved with a good product that is installed correctly and maintained properly, the company has sister companies which do high quality installation of all types of floorings, a range of civil work, floor maintenance and general cleaning.

OUTPUT IS A BEAUTIFUL TILE THAT LASTS FOREVER

Over the decades Bharat has laid some of the best-known floors in India’s landmark buildings: from palaces of Maharajas and Raj Bhavans to prominent residences, hotels, hospitals, clubs, offices, factories, co-operative housing societies, educational and religious institutions, airports, railways etc.

Here is how it is done

Step 1
BLENDING

The pigment composition is a mixture of high quality white Portland cement, marble powder and natural mineral colour pigments. The ingredients are blended together carefully over a period of 3-4 hours to produce the final colours.
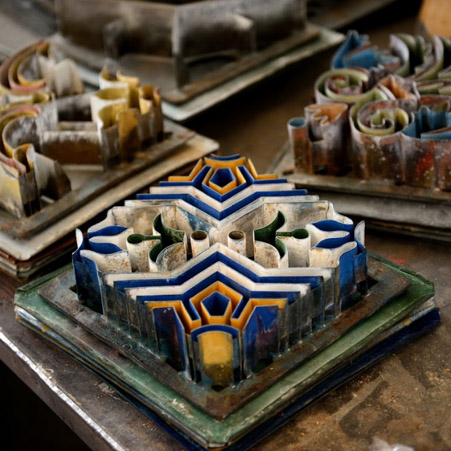
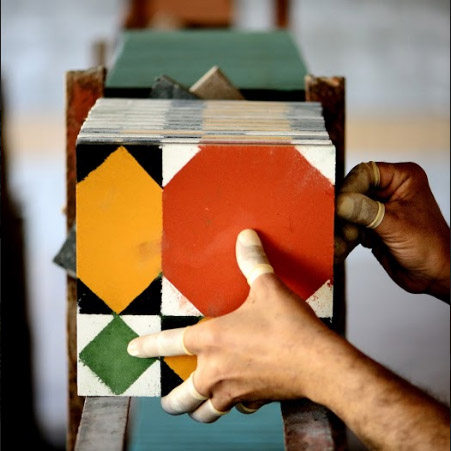
Step 2
MOLDING

The colours are filled with hand into a metal mold. The metal mold, containing the desired pattern is handmade from specific design drawings. Handmade cement tiles are unique and are expected to have slight imperfections, which give them character and depth.
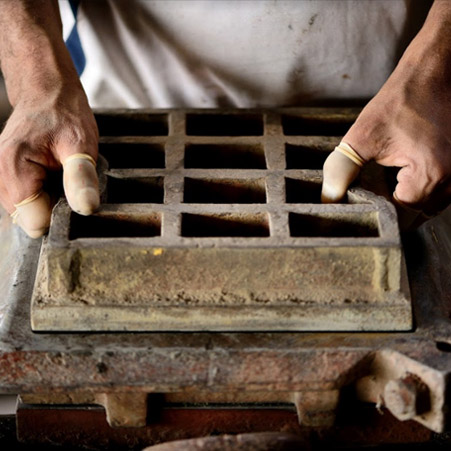
Step 3
COMPRESSING

A cork in the form of a strong metal plate is applied at the top of the mold and the tile is pressed using a mechanical hydraulic press. The pressure applied is up to 1-ton per square inch, which produces a compact tile.
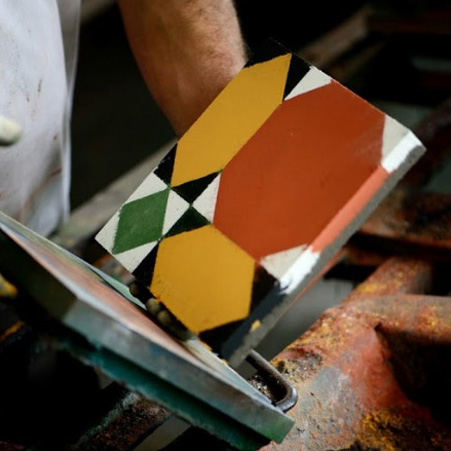
Step 4
HARDENING

After pressing, the tiles are removed from the mold and placed on a rack until they harden enough to be moved into a tank of water.
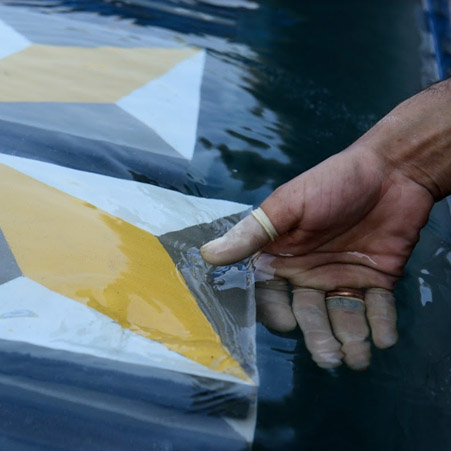
Step 5
HYDROLYSIS

The tiles are cured in water for several days, and not touched, during which they undergo a hydrolysis process and harden into strong concrete.

Step 6
DRYING

They are then removed from the tank, and allowed to further cure in the air, until they are fully ready to be shipped to the customer.

Be a part of the story

Get the feel of our products and see for yourself how they fit your space.

Get a guided tour

Request a guided tour of our store to see and feel all our products. You will understand the colours and patterns better

Find Showroom Near You